Anime portraits used to mean a few days of an illustrator's time and a commission fee. Now you upload a selfie, pick a style, and get an anime version of yourself in a few seconds. Most people want one for the same reasons: an avatar for Discord, X, or a community profile, a banner or thumbnail with some personality, or a soft portrait to give a friend.
This guide covers how to turn a photo into anime with AI using the AI anime generator, and how to do it well. Whether the result reads as you or looks like a random character comes down to three choices: the source photo, the style, and whether you check the likeness before you download.
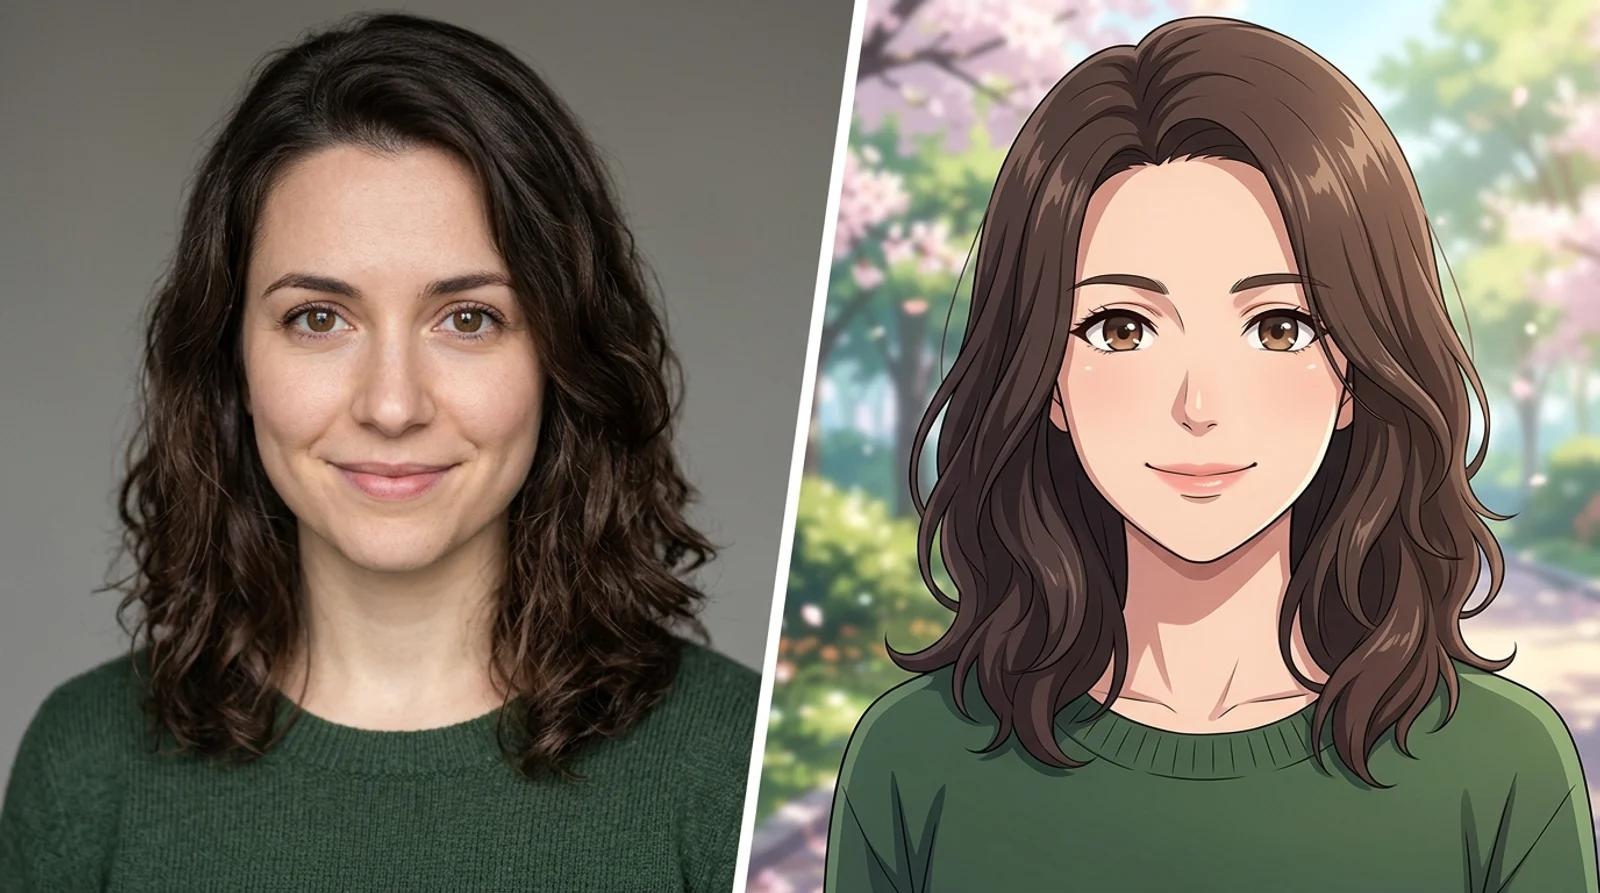
Here is the honest version of what a photo-to-anime tool does. It does not invent a new character and slap your name on it. It redraws your actual photo as anime (new linework, cel shading, palette) while holding onto your face shape, hairstyle, pose, and framing. The art style changes. The person underneath should not.
AI generation is probabilistic, so each run varies. Some takes nail your face. The occasional one drifts: a different nose, hair that grew or shrank, a face that reads slightly off. That is normal. The fix is simple. Check the result against your original, and if it drifts, regenerate or switch styles. Modern anime and soft pastel hold facial structure most faithfully. Shonen pushes contrast hardest and stylizes features the most, which is great for energy but worth a second look on likeness.
Set your expectations there and you will be happy with the output. Expect a flawless one-shot clone every time and you will be frustrated.
The model can change everything about the art, but it can only work with the face you give it. A clear, well-lit, front-facing photo is the biggest factor in a result that looks like you.
A good source photo is:
- Front-facing and clear. Your face and hair fully visible, looking toward the camera. Extreme angles confuse the model.
- Well-lit and even. Soft daylight across your whole face. No heavy backlighting or harsh shadows.
- Unobstructed. No sunglasses, no hats hiding your hairline. Your hair shape is part of your likeness, so let it show.
- Sharp, not blurry. A recent phone photo is plenty. Skip motion blur and low resolution.
- Shoulders-up framing. A head-and-shoulders crop restyles more reliably than a full-body shot, because the model has more facial detail to work from.
One more thing: it works best with a single, clearly visible face. Group photos can lose likeness because there is less detail per person, and styles blend features. For a couple or a pair of friends, crop to one subject at a time and generate them separately.
Open the AI anime generator and upload your photo. Then pick a style. There are four, and the same upload works across all of them, so you can generate a couple and compare side by side.
The styles are pre-built, so there is no prompt to write. Each one keeps your identity, hair, pose, and framing while rewriting the linework, shading, and palette:
| Style | Vibe | Best use |
|---|
| Modern anime | Clean linework, cel shading, big expressive eyes, saturated colors | The polished default, everyday avatars that read clearly at small sizes |
| Shonen | Bold ink, dynamic angles, hard shadows, strong highlights | High-energy hero shots and gaming banners with attitude |
| Soft pastel | Thin lines, airy watercolor gradients, muted pinks and blues, soft glow | Cozy, romantic, slice-of-life moods and gift portraits |
| 90s retro | Hand-painted cel feel, muted palette, film grain and scanlines | Nostalgic, vintage-anime posts and covers |
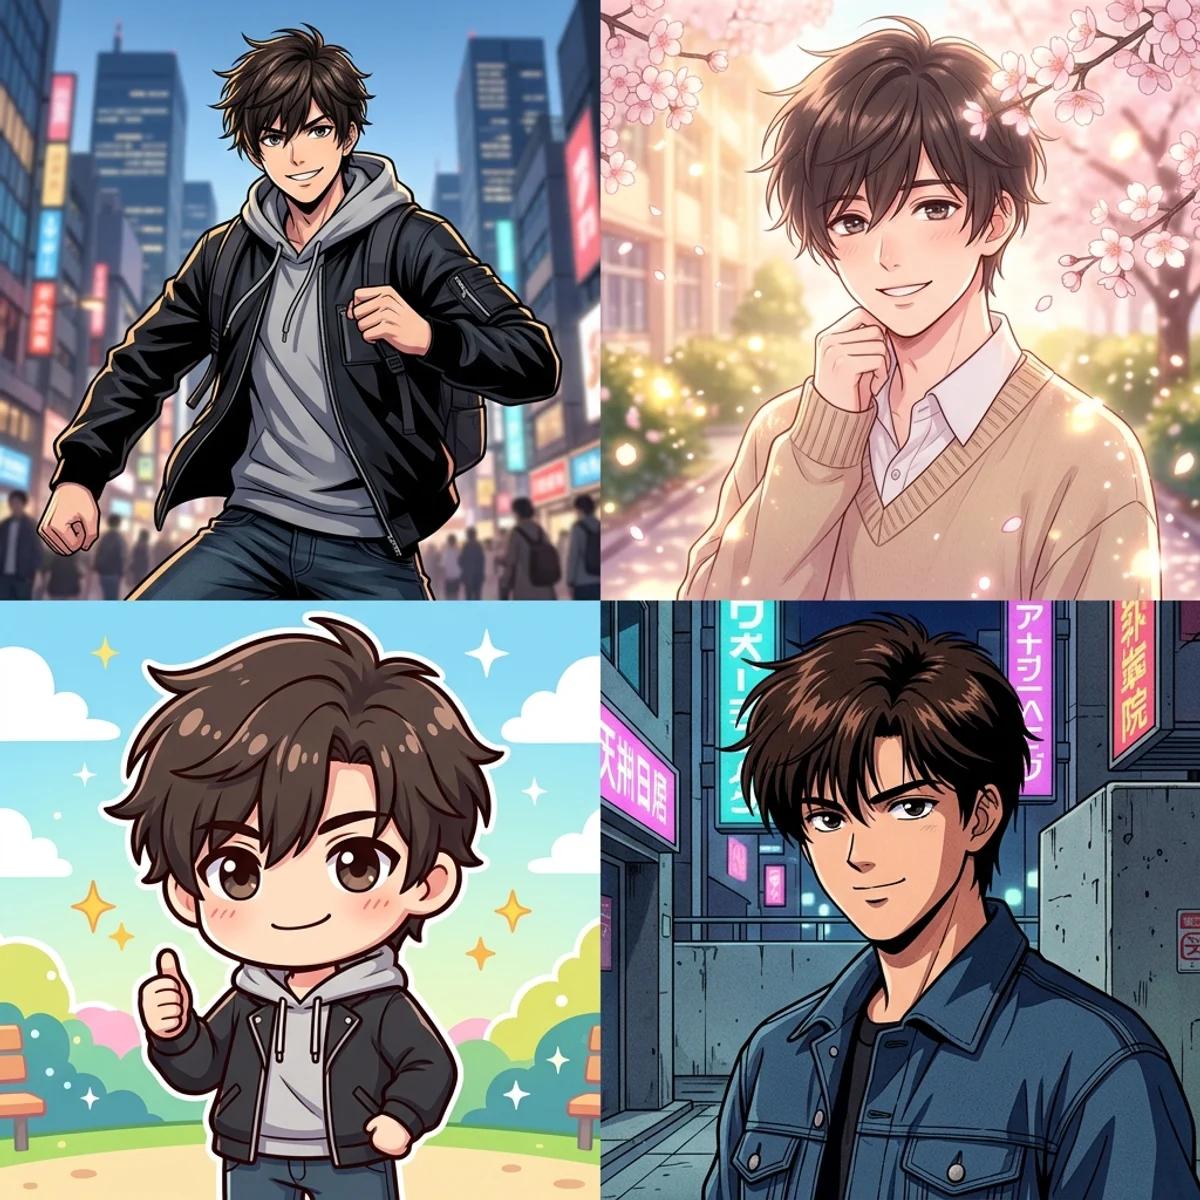
Not sure which to reach for? Modern anime is the clean default for a profile picture. Pick shonen for bold, high-contrast energy, soft pastel for gentle warmth, and 90s retro for grain and nostalgia. Trying another one costs nothing, so treat the first pick as a starting point, not a commitment.
Click Turn into anime. The model redraws your photo in the style you picked while keeping your face, hair, pose, and framing. This takes a few seconds.
When it finishes, do not just grab the first frame. Put it next to your original and check the features AI sometimes drifts on:
- Eyes. Same shape, roughly the right color and direction.
- Hair. Same length, shape, and part, not reshaped or recolored.
- Face shape. Your jaw and proportions, not a generic template face.
- Expression. Natural, not exaggerated into a different mood.
If something drifts, regenerate. Each run varies in shading, hair detail, and expression, and the second or third take is often the one that matches. Staying on a single style instead of switching mid-batch gives the most consistent set. If a style keeps stylizing your features too far (common with shonen), switch to modern or soft pastel, which hold structure better.
A clean portrait conversion is the bread and butter, but anime is also about mood, and a lot of the feeling comes from the setting. A rooftop at golden hour, a city skyline, soft rim light: those touches make an avatar feel like a frame from a show rather than a cropped headshot.
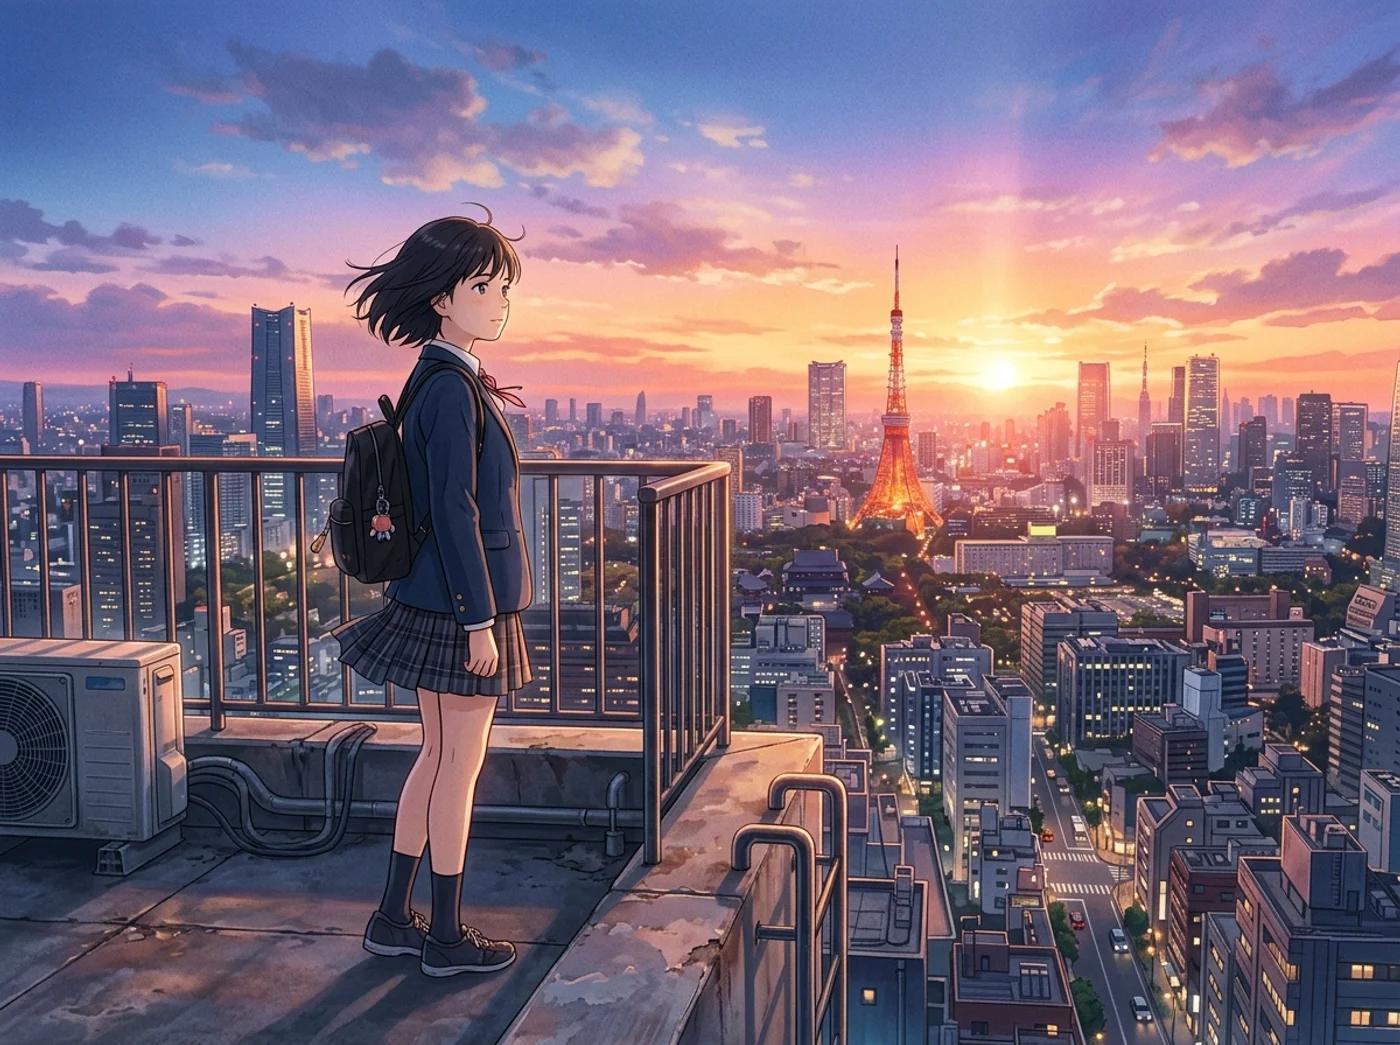
The same rule applies as with the portrait. The model restyles what is already in your photo most reliably, so a source with a clean, simple background gives you a predictable conversion of the subject. If you want a fuller scene, generate the character first, keep the take that looks most like you, then build out from there. Likeness first, atmosphere second. It is much harder to fix a face you do not recognize than to add scenery you do.
Once you have a portrait you like, one good selfie turns into a whole identity kit. Because the model keeps your face and hair instead of inventing a random character, every export still reads as you, just in anime.
- Profiles and icons. Crop the export to a 1:1 square centered on the eyes and hairline for Discord, X, or community avatars that stay crisp when scaled down. Modern and shonen keep strong edges that survive small sizes.
- Banners and posts. Pair shonen or 90s retro for channel headers, thumbnails, and feed art with personality.
- Gifts and keepsakes. Soft pastel turns a photo of a friend or partner into a warm portrait worth sharing.
A note on originality, because it matters. Every look is generated from your own upload. The tool makes original anime-style art and is not built to reproduce protected characters, franchise designs, or copyrighted costumes, and you should not prompt it to. Keep your likeness, change the art style, and the result stays yours. For personal avatars, posts, and gifts you have wide latitude. For anything commercial, make sure you own or have rights to the source photo first.
If a take feels off, work through these before giving up on a style:
- Check eyes, hair, and face shape first. That is where likeness lives. If they match, the rest is just art direction.
- Regenerate two or three times. The variation between runs is real. Keep the best take rather than settling for the first.
- Try a different style. If shonen is over-stylizing your features, modern or soft pastel will usually hold them.
- Fix the source, not the prompt. Most waxy or off results trace back to a dark, blurry, or angled photo. A sharper, front-facing, well-lit selfie beats endless re-rolls.
- Stay on one style per batch. Switching mid-batch gives you an inconsistent set. Pick a look, then generate.
You can upload a photo, pick a style, and turn it into anime for free with the base model, no account needed. Signing in keeps your results in your history so you can come back to them, and removes the export watermark from the download.
You do not need a commission or any drawing skill to turn a photo into anime. Start from a clean, well-lit selfie, pick the style that fits where it is going, generate a couple of takes, and check the result against your real face before you use it.
Try the free anime generator
")

")
")